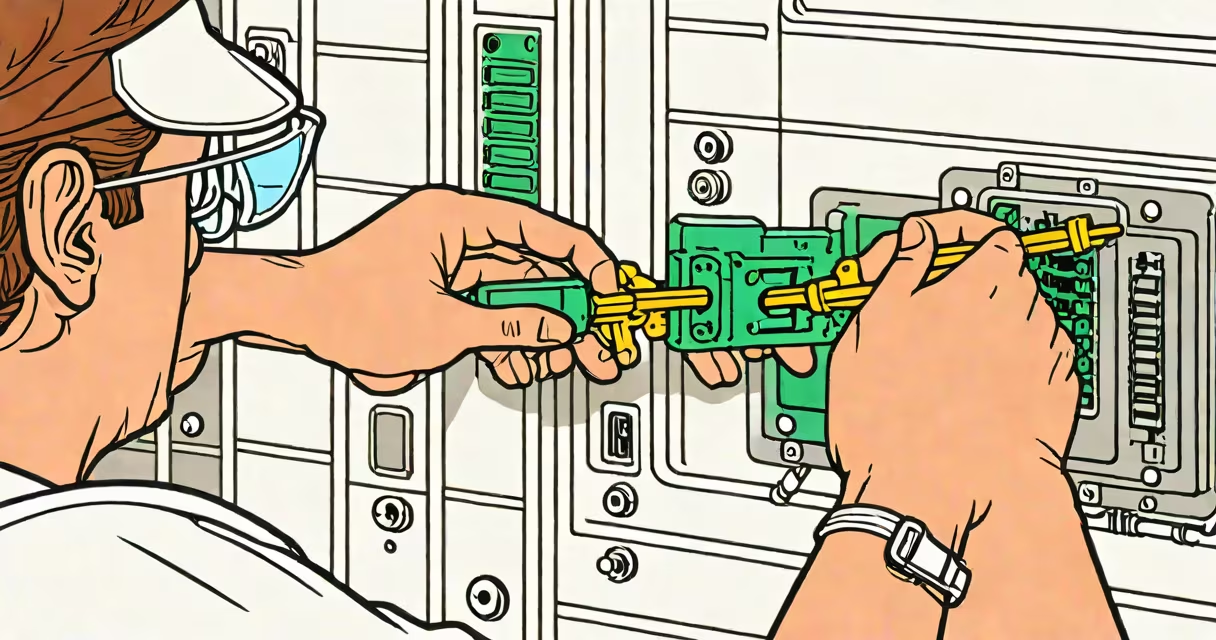
Replacing an ethernet port involves removing a damaged or non-functional network connector and installing a new one, typically using a punch-down tool and Cat 6 cable. This process restores wired network access when the existing port fails due to wear, loose connections, or physical damage.
Network ports are standard components in structured cabling systems. They connect twisted-pair cables-usually Cat 5e, Cat 6, or Cat 6a-to devices like computers, routers, or switches. When a port becomes unreliable or physically broken, replacing it ensures consistent data transfer speeds and reduces connection drops.
Most home and office networks rely on modular jacks installed into wall plates or patch panels. These jacks accept RJ45 connectors from ethernet cables. A failed port often shows signs like intermittent connectivity, inability to establish a link, or visible damage to the plastic housing or metal contacts.
The core of the replacement process is terminating the cable's eight individual wires onto the correct terminals of a new RJ45 jack. This requires stripping the outer sheath, untwisting the wire pairs, aligning them per T568A or T568B standards, and securing each wire under the corresponding blade on the jack using a punch-down tool.
After termination, the new jack is inserted into the wall plate or patch panel. The plate is then secured to the wall or mounted in a rack. Once installed, testing with a network cable tester confirms continuity and proper pinout alignment. A working port supports gigabit speeds when paired with Cat 6 or higher cabling.
For wall-mounted ports, the entire wall plate may need removal to access the internal wiring. Some older installations use punch-down blocks behind the plate, requiring careful disconnection and reattachment of wires. Modern ports often use modular jacks that snap into place, simplifying installation.
There are two primary types of ethernet ports used in residential and commercial settings: wall-mounted jacks and patch panel jacks. Wall-mounted jacks are integrated into wall plates and serve as endpoints for device connections. Patch panel jacks are used in server rooms or telecom closets to organize and manage multiple network lines.
| Type | Use Case | Cable Standard | Common Tools |
|---|---|---|---|
| Wall Plate Jack | Connecting computers, TVs, or smart devices to a network | Cat 5e, Cat 6 | Punch-down tool, wire cutter, crimper |
| Patch Panel Jack | Centralized network management in offices or data rooms | Cat 6, Cat 6a | Punch-down tool, test meter, labeling kit |
When replacing a port, ensure the new jack matches the cable category. For example, a Cat 6 ethernet port requires a jack rated for Cat 6 to maintain performance. Using a lower-rated jack with Cat 6 cable limits bandwidth and increases crosstalk.
Always verify the cable's category before purchasing a replacement. A Cat 6 ethernet port supports up to 10 Gbps over 55 meters, while Cat 5e only guarantees 1 Gbps. Mismatched components degrade signal quality and can cause intermittent failures.
Replacements occur when a port fails due to physical stress, corrosion, or poor initial installation. Common failure points include bent or broken pins, frayed wires, or loose terminations. A single damaged wire can disrupt communication, especially in high-speed networks.
Home users replace ports when a device won't connect despite a known-good cable. Office IT teams replace ports during routine maintenance or after equipment moves. In both cases, a failed port leads to dropped connections, slow transfers, or complete loss of network access.
A real-world example: A small business reported intermittent internet on a conference room computer. Testing revealed the wall port had a broken contact on pin 4. After replacing the port with a new Cat 6 ethernet port, the connection stabilized at 1 Gbps. The fix took 15 minutes and required only a punch-down tool and spare jack.
Many people assume replacing a port requires rewiring the entire building. That's not true. Most replacements involve only the local wall plate and a few feet of cable. Only complex layouts or missing documentation require tracing cables through walls or ceilings.
One frequent mistake is assuming all ethernet ports are interchangeable. A Cat 5e jack cannot reliably support 10 Gbps speeds. Even if the cable is Cat 6, using a lower-grade jack introduces signal degradation and reduces performance below specification.
Another error is misaligning wire pairs during termination. The T568B standard (white/orange, orange, white/green, blue, white/blue, green, white/brown, brown) must be followed precisely. A reversed pair causes crosstalk and can prevent link negotiation between devices.
I once replaced a port in a client's home office where the previous installer had left two wires unconnected. The system showed "no link" until I checked the termination. After correcting the wiring and punching down all eight wires, the connection established instantly. This highlights the importance of verifying each wire under the blade.
Some confuse replacing a port with replacing a switch or router. A faulty port affects only one endpoint. Replacing a network switch impacts the entire subnet. Diagnose the issue correctly before assuming hardware failure.
For troubleshooting, use a cable tester like the Fluke Networks DSX-5000. It verifies continuity, identifies shorts, and detects miswires. Without testing, you risk installing a new port that still fails due to underlying cable issues.
If the connection fails, double-check wire order and ensure all wires are fully seated. A partially inserted wire can cause intermittent issues that are hard to diagnose.
When working with wall plates, label each port before removal. Mislabeling leads to confusion later, especially in multi-room setups. Use adhesive tags or a permanent marker to identify which port serves which device.
Replacing an ethernet port is a straightforward task for anyone with basic hand tools and attention to detail. It prevents downtime, avoids costly service calls, and maintains network reliability. With the right tools and clear steps, a single port replacement takes less than 20 minutes.
Understanding how to replace an ethernet port empowers users to maintain their own network infrastructure. Whether fixing a broken connection or upgrading to higher speed capabilities, the process remains consistent across environments.