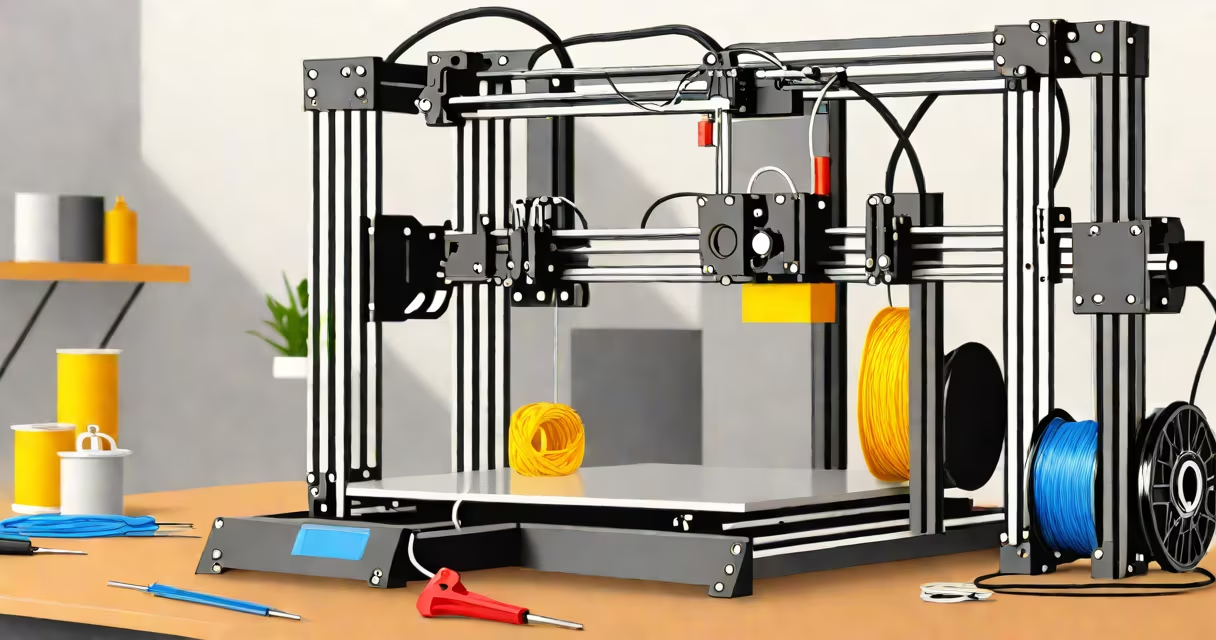
To start 3D printing, you need a printer machine, compatible filament material, a computer or SD card for sending files, a slicer program, and basic tools for maintenance and finishing. This setup enables you to turn digital models into physical objects layer by layer.
A 3D printer operates by depositing melted thermoplastic filament, layer by layer, onto a build platform. The process begins with a digital 3D model, usually in .STL or .OBJ format. You then use slicing software to convert the model into G-code instructions that control the printer's movements and extrusion. Once the file is processed, it's sent to the printer via USB, Wi-Fi, or an SD card.
The most common type of 3D printer for beginners is the Fused Deposition Modeling (FDM) machine. These printers use a heated nozzle to melt plastic filament, which is then deposited in precise patterns. They're affordable, widely available, and support different materials. More advanced systems include resin-based stereolithography (SLA) printers, which cure liquid photopolymer with UV light, offering higher detail but requiring more handling care.
Every functional 3D printer includes several mechanical and electronic subsystems. The frame provides structural stability. The print bed, often made of glass or PEI-coated aluminum, holds the printed object during fabrication. The extruder assembly pushes filament through a heated nozzle, melting it just before deposition.
Motors drive the X, Y, and Z axes. Stepper motors control movement with precision, typically using microstepping for smoother motion. The control board manages motor signals, temperature sensors, and power distribution. Common boards include the RAMPS controller or direct-to-ATmega-based designs found in entry-level machines.
Heated beds improve adhesion and reduce warping in prints. Most FDM printers have a heated bed set between 50°C and 120°C depending on the material. Temperature sensors monitor both the hotend and bed to maintain accuracy. A fan cools layers as they form, preventing deformation in overhangs and fine details.
| Component | Function | Typical Range |
|---|---|---|
| Print Bed | Surface for object adhesion | 150 x 150 mm to 300 x 300 mm |
| Hotend | Melts and extrudes filament | 180°C to 260°C |
| Extruder Motor | Pushes filament into hotend | Stepper motor, 1.8° step angle |
| Control Board | Manages all printer functions | Arduino-based or ARM Cortex-M |
Filament is the primary consumable. PLA (polylactic acid) is the most beginner-friendly option. It melts at 180°C to 220°C, requires no heated bed, and produces minimal odor. It's biodegradable and derived from cornstarch. ABS (acrylonitrile butadiene styrene) offers greater strength and heat resistance but requires a heated bed and better ventilation due to fumes.
More advanced filaments include PETG, which combines durability with ease of printing, and flexible TPU, ideal for hinges and wearable parts. Resin printers use liquid photopolymer that hardens under UV light. Standard resins offer high resolution but are toxic in liquid form and require gloves and masks during handling.
For a standard FDM printer, you'll need at least 500 grams of PLA to test multiple prints. A 1-kilogram spool costs $20 to $30 and lasts for dozens of small projects. Always store filament in a sealed container with desiccant to prevent moisture absorption, which causes bubbling and poor layer adhesion.
Slicing software translates 3D models into machine-readable G-code. Popular free options include Cura (by Ultimaker), PrusaSlicer, and Simplify3D. These programs let you adjust layer height, infill density, print speed, and support structures. A typical default setting uses 0.2 mm layer height and 20% infill for balance between strength and print time.
For example, a 50 mm cube printed at 0.2 mm layer height takes 12 layers. With 20% infill, the printer deposits material in a grid pattern, reducing weight and print time. A 10-minute print at 50 mm/s speed results in a solid, lightweight object suitable for prototyping.
Once sliced, the G-code file is transferred to the printer. Most modern machines accept files via USB cable or SD card. Some support Wi-Fi or Ethernet connections, enabling remote monitoring and job management. Always verify the file path and ensure the printer's firmware recognizes the file format.
Basic tools include a scraper for removing prints from the bed, tweezers for clearing filament jams, and a pair of needle-nose pliers for adjusting belts. A small brush removes dust from the build surface. A leveler tool ensures the bed is perfectly aligned with the nozzle.
I once spent 45 minutes troubleshooting a failed print because the bed was uneven. After adjusting the leveling screws with a piece of paper, the first layer adhered properly. Regular cleaning prevents debris buildup in the extruder tube, which can cause under-extrusion or clogs.
Always wear safety goggles when working near moving parts. Use a well-ventilated area or an enclosure with a carbon filter when printing with ABS or resin. The American Society for Testing and Materials (ASTM) standards recommend ventilation rates of at least 15 air changes per hour in enclosed spaces where volatile compounds are emitted.
Many assume that buying a 3D printer means immediate success. In reality, calibration takes time. A poorly tuned printer produces warped edges, poor layer adhesion, or stringing. Even high-end models require tuning for optimal performance.
Another misconception is that all filaments are interchangeable. PLA works at lower temperatures and doesn't warp much. ABS shrinks as it cools and may crack if not printed on a heated bed. Using the wrong material leads to failed prints and wasted time.
Some users think they can skip slicing software and send STL files directly. But printers don't understand 3D models-they only follow G-code. Skipping slicing results in no output. Always use a trusted slicer and validate settings before printing.
Starting with a 3D printer requires understanding the full workflow-from design to final object. Focus on mastering one material, one printer model, and one slicer before expanding. The goal isn't speed-it's consistency and reliability.